Monday, April 6, 2015

Garden Update and Thinning 101 April 6, 2015

Our winter cover crops are coming in well. Recall how we planted two different ones. Spring is here despite the twenty-degree temperatures during the last weekend in March. 4/6/15

Here is the crimson clover. Soon it should flower. Recall how crimson clover is a nitrogen fixer, which means it actually grabs nitrogen out of the air and places the gas in its roots. The plant simply adds fertility big time.  4/6/15

The tips of the broccoli and cauliflower are being enjoyed by some critter. We are still investigating.  4/6/15

The lettuce bed looks great. Who is ready for salad? At this point, we can harvest any of the outer leaves and the plant will continue to do well. 4/6/15
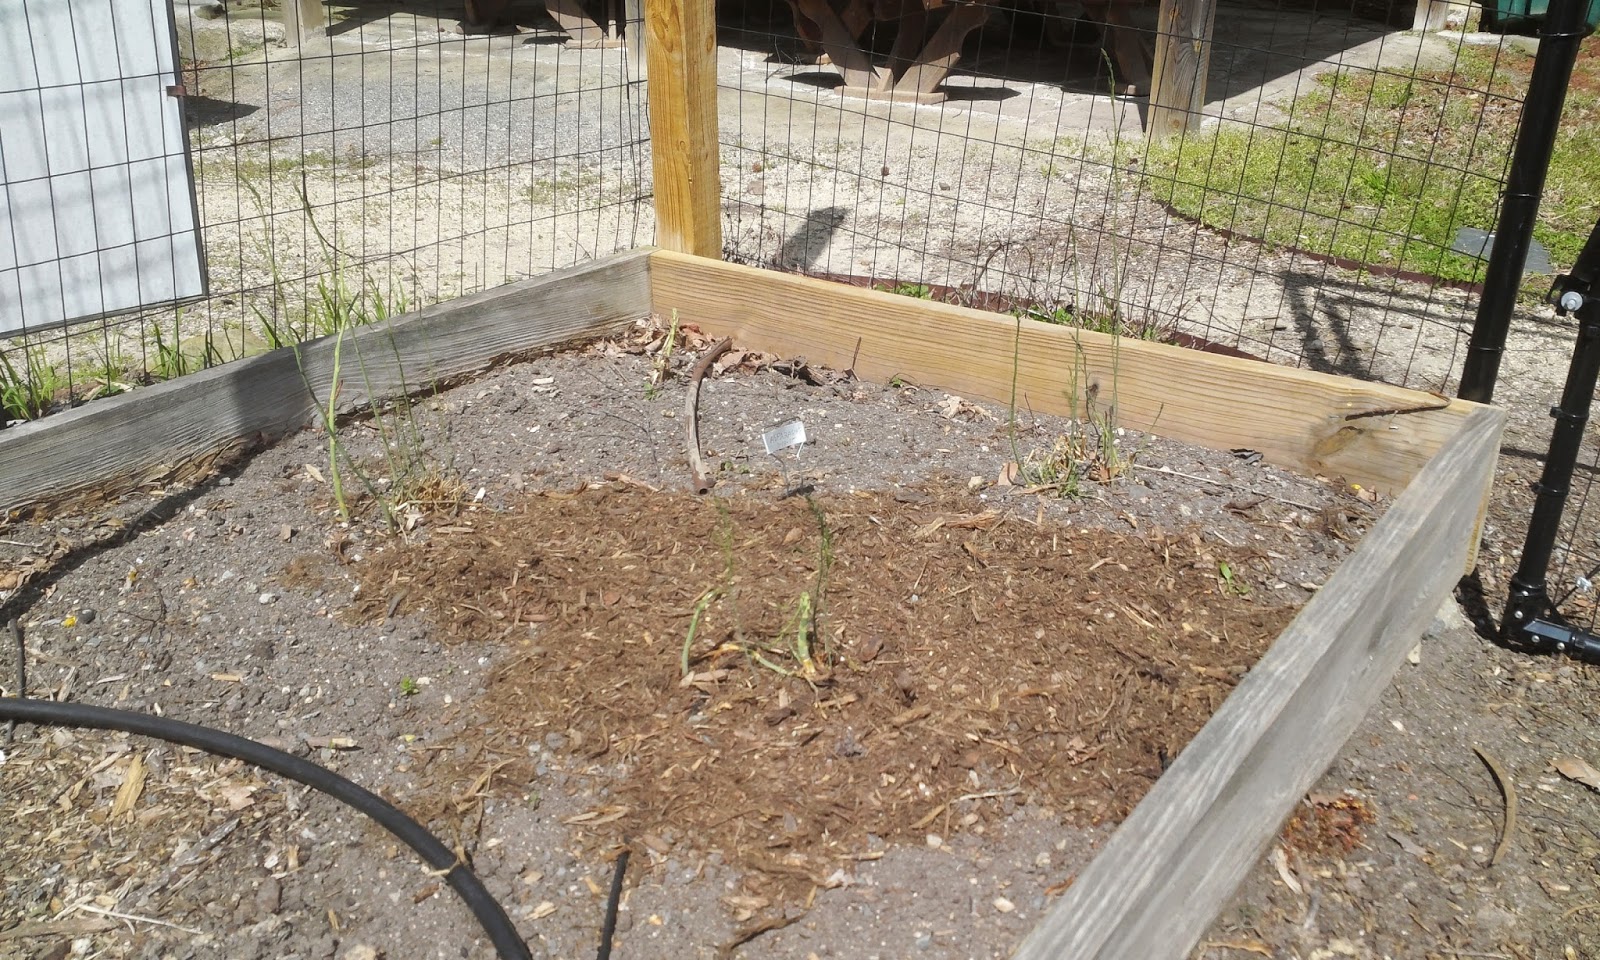
The asparagus is putting up some healthy ferns. Since we are not harvesting any this year because it was just planted, all we can do is watch. In general, the plant is a beauty.4/6/15

Soon the sugar snap peas should reach their trellis, but it does not feel like that time will be anytime soon. 4/6/15

Here is our army of onions. Look at the size difference from our last post. 4/6/15

Ah-ha, it appears as if we have a pest. Can anyone identify it? 4/6/15  

 The garlic is simply doing wonderfully. 4/6/15


THINNING 101


Two beets too close. 4/6/15

One beet is better than two beets when planted too close.  4/6/15

Here is an example of lettuce, that if left alone, will not grow well.  4/6/15

Here is a better example of how lettuce seedlings should look. However, I believe we missed one.  With thinning, it is imperative to go over rows repeatedly because seedlings are easy to miss. You could let them grow larger, but then the competition retards their growth. 4/6/15

Here are two cilantro seedlings that will hamper each other’s growth. Even at this stage, they smell like cilantro. 4/6/15

As gardeners, we dislike killing plants, but it is necessary. This one cilantro will grow into a healthy plant. 4/6/15

 Yes, getting down like this to thin is necessary. Sometimes scissors work well to with larger plants. 4/6/15


Here is our tomato in its Wall-O-Water after experiencing a twenty degree night at the end of March. Notice, it even has a flower. The water is heated during the day and radiates all night, keeping it warm. Even the ground around this plant will be warmer. 4/6/15

Here is our control tomato plant that was next to the tomato in the Wall-O-Water. It is a goner.   4/6/15

Wednesday, March 25, 2015

The Wall-O-Water Keeps our Tomato Warm March 25, 2015


Here are a few shiitake mushrooms from our inoculated mushroom logs. (Read earlier posts to learn more.) There are all kinds of surprises happening this time of the year.  3-25-15

The tomato in the Wall-O-Water is doing well. It was planted mid-March. 3-25-15


The control tomato that was planted beside the Wall-O-Water tomato is just about dead. It is to the right of the rebar stake.   Though the daytime temperatures are warm, getting into the mid-70s the soil and the night air are simply too extreme for this warm weather loving plant.  3-25-15

Again, here is another shot of our garlic. It was planted in the fall and is growing well. We will harvest it in a few more months. 3-25-15

The broccoli and cauliflower are doing well.  3-25-15

The onions are starting to send up some greens. 3-25-15


Our sugar snap peas have finally sprouted. 3-25-15

Here is an up-close shot of a sugar snap pea. 3-25-15


Our radish seeds have germinated quite well. Now we must thin them before they crowd each other out.  3-25-15

Here is the same row of radish after thinning. We will have to thin them more aggressively in the next few weeks. 3-25-15


Can you guess what these are? Great! Our asparagus is coming up well. We transplanted 3-year-old crowns not long ago and will let them grow out this season without harvesting any. Our goal is make sure they thrive, so asparagus grows in this bed for decades to come! 3-25-15

The transplanted lettuces are doing well. 3-25-15

Saturday, March 21, 2015

Hard at Work 3-11-15

Putting in the pea trellis took a few extra hands. (3-11-15)

Planting seeds by hand always requires a significant amount of bending, but our gardeners get their spacing right. (3-18-15)


One of our EMGV interns is planting our broccoli and cauliflower transplants. (3-18-15)

Publication on growing cauliflower:  http://content.ces.ncsu.edu/cauliflower/:

We received a donation of four asparagus divisions from a fellow EMGV. They arrived with healthy roots and thick asparagus shoots already emerging. Now, the three season garden has a perennial. (3-18-15)


(3-18-15)
Publication on planting asparagus: 


Here are our four asparagus plants. Notice the water circles. Even though the plants are three years old, we will most likely not harvest from them this year to avoid causing stress. (3-18-15)


Our lettuce transplants are evenly spaced and watered.  What more could we ask for?(3-18-15)


In the spirit of our garden's label, a Demonstration Garden, we are testing the Wall-O-Water. Inside the plastic is a tomato that is doing surprisingly well for being planted a month before our last expected frost date. The brown water comes from a nearby creek because our water spigots have not been turned on yet. Brown water is not a prerequisite for using the Wall-O-Water. (3-18-15)

Filling up the Wall-O-Water without a hose was a bit of a pain, but we managed. 

Sites to read about the Wall-O-Water: 


The broccoli and cauliflower transplants should begin to thrive shortly.(3-18-15)


Here is our vegetable garden after a 3 hour workday. Soon the greens will emerge. (3-21-15)


Wednesday, March 11, 2015

The 2015 EMGV Interns Begin With A Near Empty Garden 3-11-15

The garden beds are ready for Guildford County's Extension Master Gardener Volunteer Interns (EMGVIs) to teach county residents how to implement a three-season vegetable garden.


Here is a rough sketch of our three season vegetable garden.


The garden was recently weeded and cleaned. (3-11-15)

The crimson clover cover crop continues to grow nicely. This seed was inoculated. (3-11-15)

See more information on cover crops in NC: 

In our other bed, the cover crop did not come in as well. These seeds were not inoculated. (3-11-15)

 Only thyme and garlic were left over from last season along with the cover crops. (3-11-15)

 The garden always looks bare this time of the year, but the possibilities are endless. (3-11-15)

How will this space look in a few months? How will it look in one month? (3-11-15)

Wednesday, January 7, 2015

Yacon Harvest Time 1-07-15

While most gardeners have put away their tools in January, along with any hopes of harvesting more, our garden still has a surprise waiting in our soil. The magical yacon is about to emerge. 

This garden may look dead. Well, think again.  (1-07-15)


Do you see the red just below the stem? They are rhizomes we will use to propagate next year’s yacons. Each plant produces loads of rhizomes. Perhaps, we can get thirty plants out of this one plant.  (1-07-15)

Below the reddish rhizomes are the tubers, the edible part, which are what we are after. We cannot stress enough how important patience is when harvesting yacons. Instinct says hurry up because it is a cold January afternoon. Yet, muscling yacon tubers out of the ground only breaks off perfectly edible bits. Remember, the yacon tubers have been patiently growing since May and June, so why not let them have a few more moments in their nourishing soil.  Patiently dig around the base of the stem, leaving at least 18 to 24 inches between your shovel and plant. Then, and only then lightly heave upwards at an angle.  As the tubers appear, dig even further down and heave a bit more. Soon the tubers will surface.(1-07-15)  
  

Here is the harvest from one yacon plant.(1-07-15)  

Here is the harvest from both yacon plants. (1-07-15)  
 

Here is a better look at the rhizomes, which are located between the stem and the tubers. Each eye can propagate a new plant.(1-07-15)  

Here are three of the yacon tubers up close. They look like sweet potatoes, but they are very different. When one is ready to eat these tubers, they must soften a bit, which can take several weeks at room temperature. To store them longer, keep them in a cool place. Once they soften, their skin will slightly wrinkle. Get out your peeler to reveal their white flesh. From there, they are eaten raw. The taste is sweet and the texture is crunchy like a radish. They can be eaten alone or added to salads. The imagination is the limit with these glorious yacons. (1-07-15)  

Links about Yacons: 


In this bucket, we temporary stored the rhizomes to deal with later. Soon we will place them in a drier location. (1-07-15)